Classic Cherry Pie Recipe
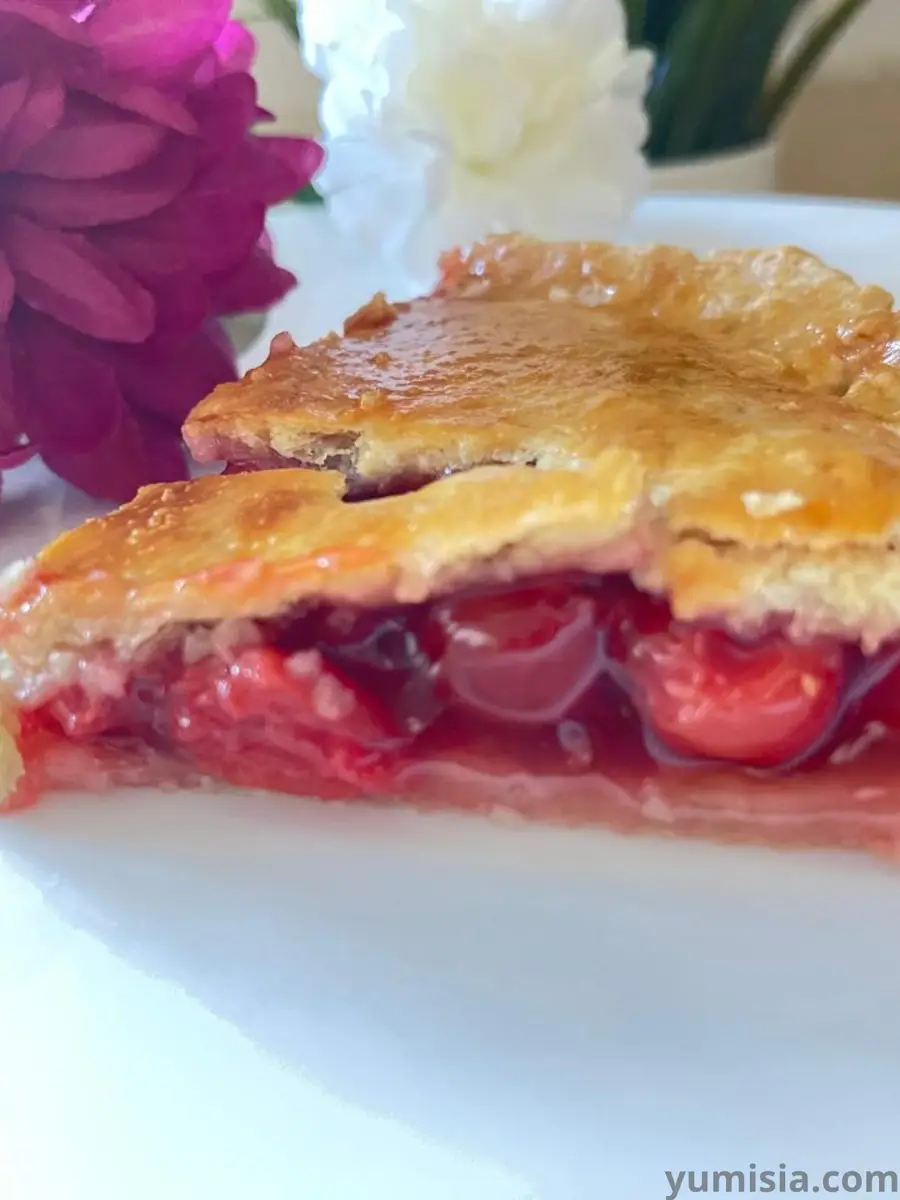
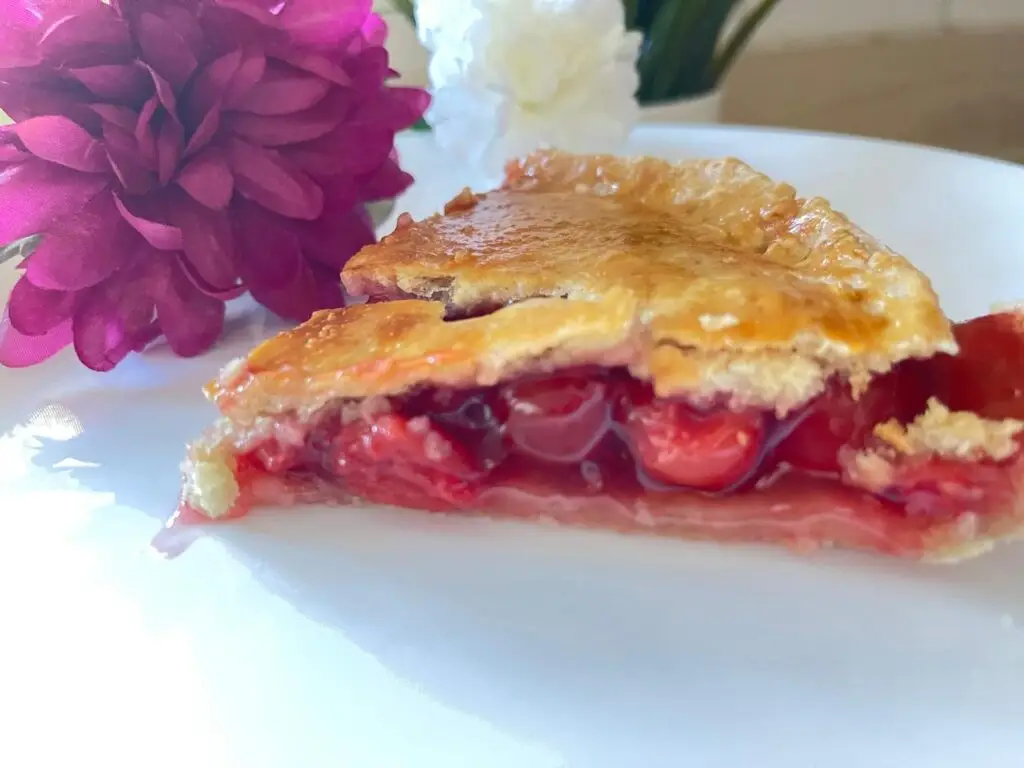
There’s something magical about a classic cherry pie. Whether it’s the golden, flaky crust or the vibrant, sweet-tart cherry filling bubbling up underneath, this pie has a way of turning any day into a celebration. It’s a dessert that feels nostalgic, comforting, and just a little bit festive—perfect for holidays, summer gatherings, or a cozy weekend treat at home.
If you’ve been searching for a cherry pie recipe that delivers a crisp crust, a perfectly thickened filling, and a rich cherry flavor without being overly sweet, you’re in the right place. This recipe uses simple ingredients and works beautifully with either fresh, frozen, or canned cherries, so you can bake it any time of the year.
Why You’ll Love This Recipe
-
Classic and foolproof — perfect for beginners and experienced bakers.
-
Flexible — use fresh, frozen, or canned cherries.
-
Perfect texture — juicy, thick filling that doesn’t run everywhere.
-
Beautiful presentation — a golden lattice crust that looks bakery-quality.
-
Ideal for any occasion — from summer picnics to holiday tables.
Ingredients
For the Cherry Filling
-
4 cups cherries (fresh, frozen, or canned), pitted
-
¾ cup granulated sugar
-
¼ cup cornstarch
-
1 tablespoon lemon juice
-
1 teaspoon almond extract (optional but highly recommended)
-
¼ teaspoon salt
For the Pie Crust
(You can use homemade or store-bought.)
-
2 pie crusts (for top and bottom)
-
1 egg, beaten (for egg wash)
-
1 tablespoon coarse sugar (optional, for sprinkling)
Instructions
1. Prepare the Filling
In a large bowl, combine cherries, sugar, cornstarch, lemon juice, almond extract, and salt.
Mix until the cherries are evenly coated. Let the mixture rest for 10–15 minutes so the juices can release.
2. Assemble the Pie
-
Preheat your oven to 425°F (220°C).
-
Roll out your bottom crust and gently place it into a 9-inch pie dish.
-
Pour the cherry mixture into the crust, spreading it evenly.
-
Top with your second crust—either as a full cover with slits or a lattice design.
-
Brush the top lightly with egg wash and sprinkle with coarse sugar if desired.
3. Bake
Bake at 425°F (220°C) for 15 minutes.
Then reduce the temperature to 350°F (175°C) and continue baking for 35–40 minutes, or until the crust is golden and the filling is bubbling.
4. Cool and Serve
Allow the pie to cool for at least 3 hours before slicing.
This helps the filling set and gives you beautiful slices.
Tips for the Best Cherry Pie
🍒 Use a mix of sweet and tart cherries for the perfect flavor balance.
🍒 If using frozen cherries, do not thaw them—just increase baking time by 10 minutes.
🍒 Almond extract is a game changer. It enhances the cherry flavor beautifully.
🍒 Protect your crust — cover the edges with foil halfway through baking to prevent burning.
🍒 Let it rest! Cutting too early makes the filling runny.
Variations
-
Cherry Berry Pie — Add 1 cup of blueberries or raspberries.
-
Cherry Vanilla Pie — Replace almond extract with vanilla.
-
Crumble Topping — Skip the top crust and use a buttery oat crumble instead.
-
Chocolate Cherry Pie — Add ½ cup mini chocolate chips to the filling.
How to Store Your Cherry Pie
-
Room temperature: up to 2 days (covered).
-
Refrigerated: up to 5 days.
-
Frozen: freeze baked pie for up to 3 months. Thaw overnight in the fridge.
Serving Suggestions
Cherry pie is delicious on its own, but you can elevate it with:
-
A scoop of vanilla ice cream
-
Fresh whipped cream
-
A drizzle of warm chocolate or caramel sauce
-
A sprinkle of powdered sugar
Final Thoughts
This Classic Cherry Pie is the kind of recipe that never goes out of style. It’s simple, beautiful, and bursting with flavor. Whether you’re baking it for a family gathering, a special holiday, or just because you love cherry desserts, this pie is guaranteed to impress.
If you try it, feel free to share your version, your twists, or your serving ideas—you might inspire someone else’s next delicious creation!
Lorem ipsum dolor sit amet, consectetur adipiscing elit. Ut elit tellus, luctus nec ullamcorper mattis, pulvinar dapibus leo.